The molded frame or end cap is an important part of an air filter’s sealing structure. Its material must connect reliably to the pleated media, retain the required shape and suit the installation conditions. Polyurethane adhesive, commonly called PU adhesive, allows the molding and bonding functions to be considered together. Consistent production depends on matching the formulation to the dispensing equipment, mold and curing process.
At PLM Filter Solution, we supply PU adhesive alongside filter production equipment and molds. This gives manufacturers a practical starting point for selecting the material and the process as one system, whether developing a new filter model or improving an existing molding operation.
Define the molded part before choosing the adhesive
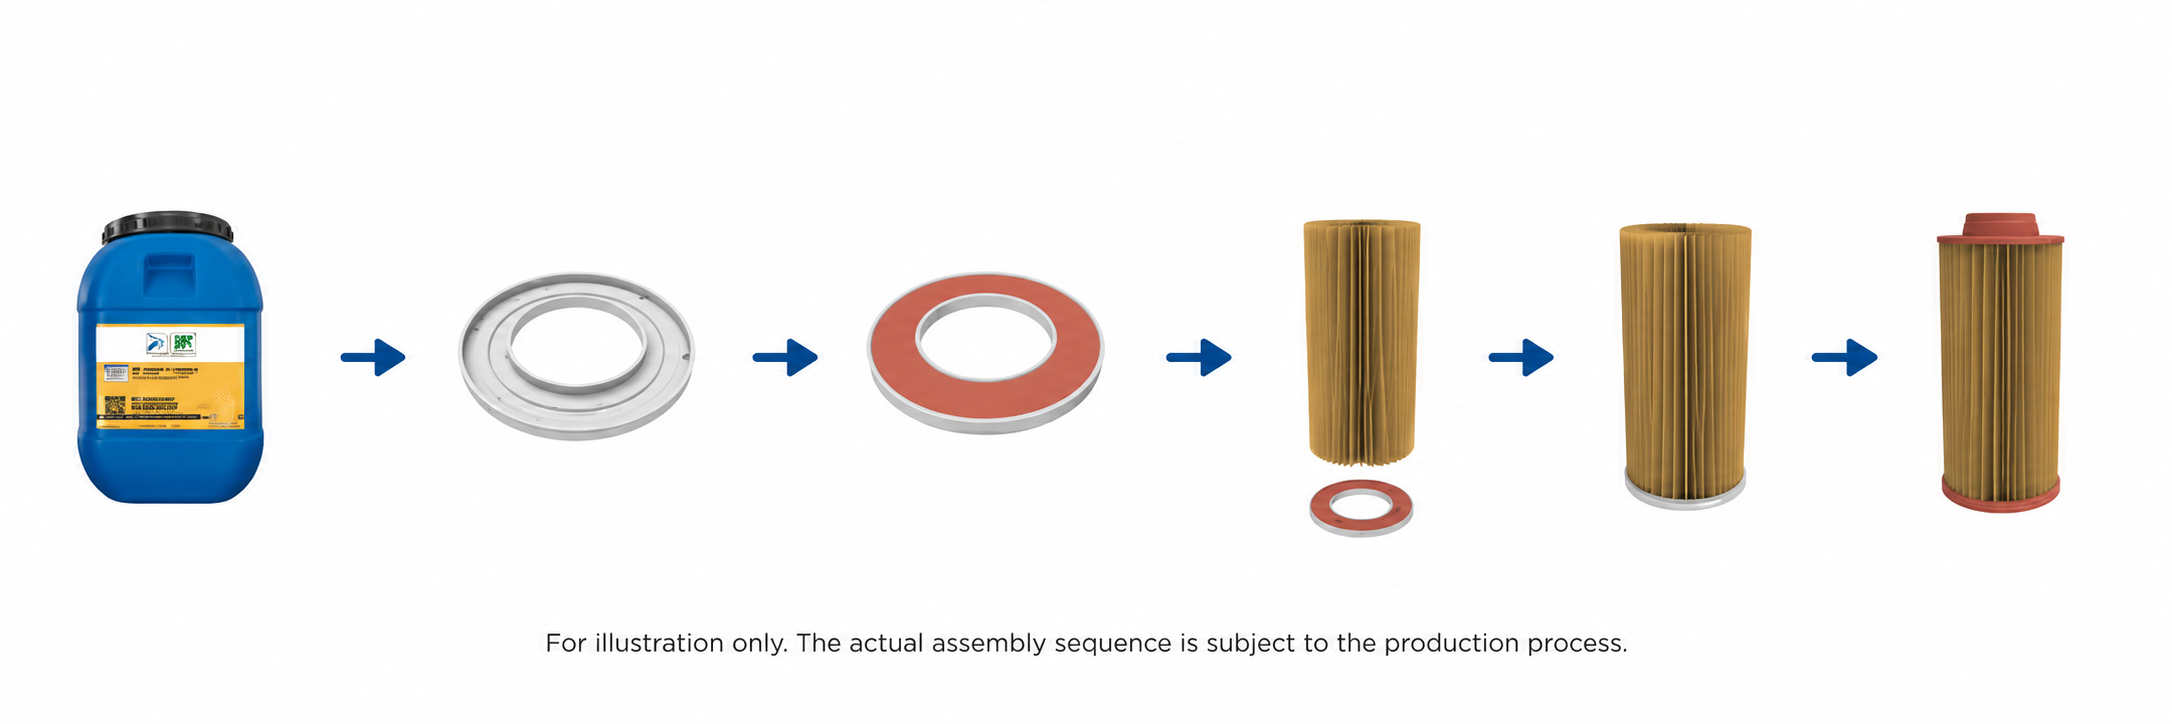
In a PU-frame panel air filter, the molded perimeter connects to the edges of the pleated media and forms the required frame profile. In a cylindrical design, PU can form an end cap around the media pack. These constructions require different mold geometry, media positioning and filling paths. Start with the finished-filter drawing and identify the surfaces that must bond, the dimensions that must remain stable and the interface that seals during installation.
The function of the PU part also differs from a hot-melt bead used to stabilize pleats. A stable pleat pack helps the molding operation, but pleat stabilization and perimeter sealing require their own material choices and checks. Define the job of each adhesive so that changes at one joint do not introduce an unreviewed change elsewhere in the filter.
Match mechanical properties to the sealing design
Hardness, elongation, resilience and compression set describe different aspects of a cured PU part. Hardness concerns resistance to indentation; resilience describes recovery after deformation; compression set indicates the deformation remaining after a specified compression test. Compare these properties using agreed test methods and conditions, then relate the results to the frame or end-cap design. A higher hardness value alone does not demonstrate a better seal.
The selected grade must also suit the service temperature, chemical exposure and contact materials of the intended filter. Check both the molded part and its bond to the actual media. For example, an acceptable outer profile cannot compensate for a local gap at the media interface. Sample approval should therefore cover fit, material behavior and joint integrity together.
Coordinate the mold with media positioning and filling
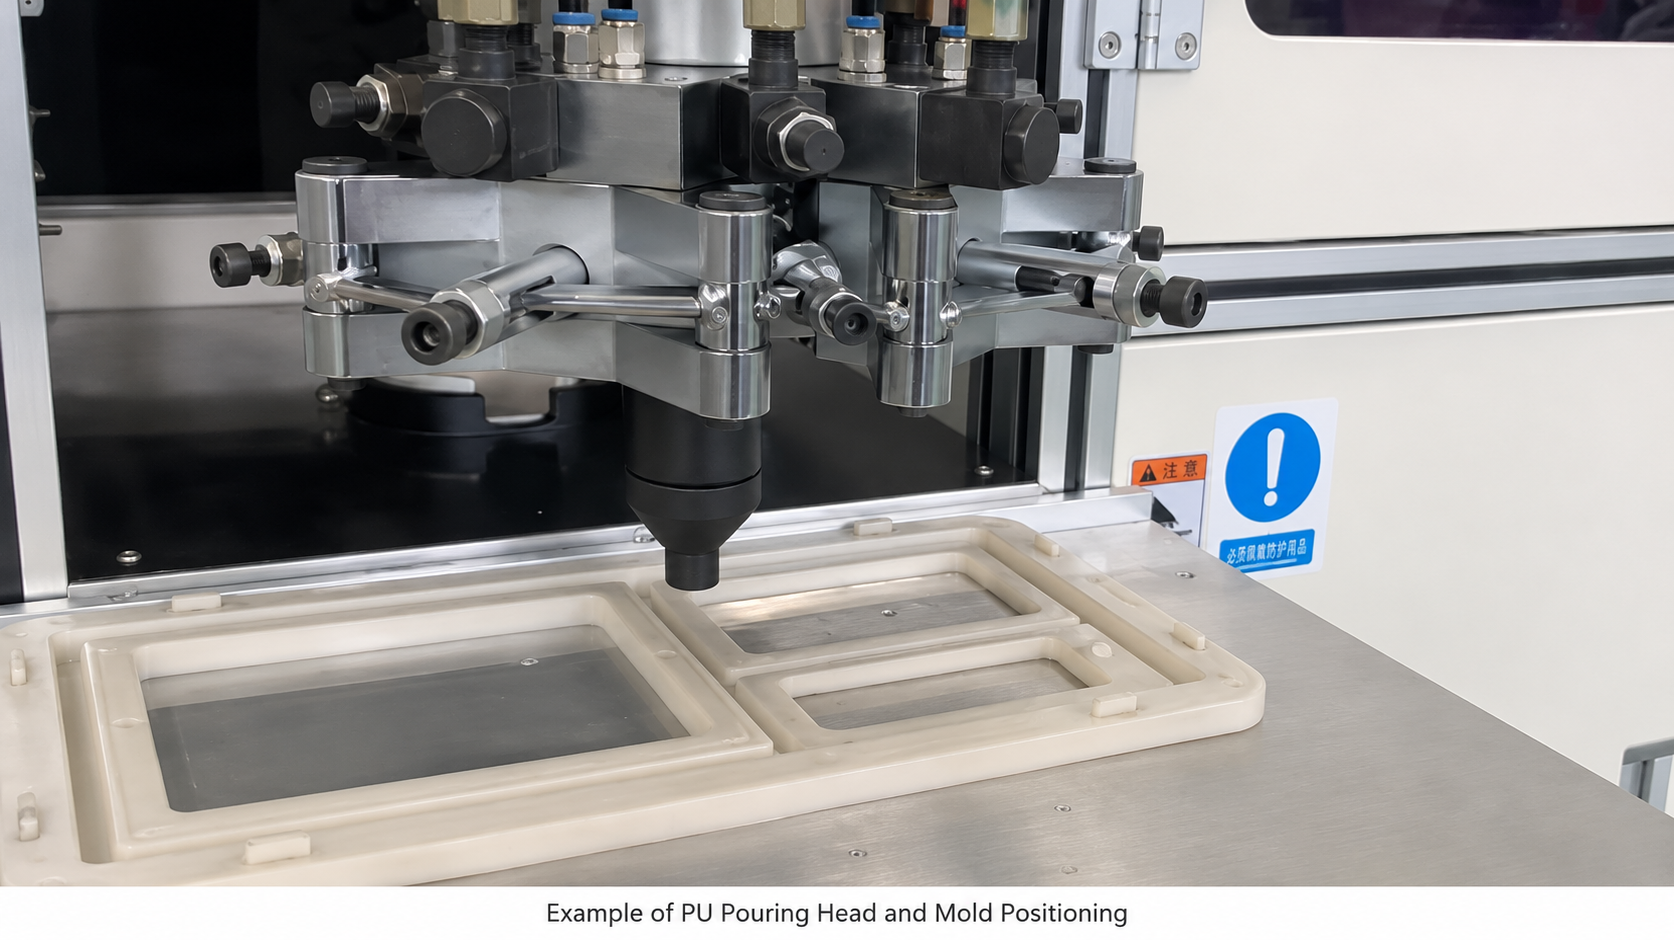
The mold defines the frame or end-cap profile, while the fixture keeps the media in the intended position during dispensing. If the pack is tilted or displaced, the material depth around its edge can vary. Establish repeatable placement references and inspect the relationship between the media edge and cavity before adjusting the adhesive formulation.
Filling should be reviewed at corners, narrow sections and the start and finish of the dispensing path. Excess material can increase trimming work, while insufficient filling can leave an incomplete section. Trial adjustments should focus on the affected location and its corresponding process condition. PLM provides standard plastic molds and can review special molds against requirements or an original part number, helping connect tooling selection with the intended filter model.
Build curing into the production rhythm
Dispensing, demolding and full cure are different stages. Before dispensing, check the selected grade’s technical instructions for component storage and conditioning, temperature, viscosity, working time and mixing requirements. Confirm the usable process window with trial parts under the actual production conditions. A part that can be removed from the mold may still need further curing before testing, handling or installation. Set the curing conditions for the selected PU grade and actual part geometry. A fixed temperature or waiting time should not be transferred between products without checking the relevant material instructions and sample results.
Production planning should allow the required time and support between these stages. Raising dispensing speed cannot increase accepted output when curing, mold availability or trimming becomes the bottleneck. Plan mold circulation and the location of waiting parts together with the equipment layout. This makes the molding operation easier to organize without forcing downstream handling ahead of the approved material condition.
Use defect location to guide process improvement
Inspect the perimeter and media interface after the specified cure. A repeated incomplete corner suggests reviewing the local filling path and shot distribution. Uneven frame thickness calls for a check of media placement and mold alignment. Soft or inconsistent areas require a review of material identity, ratio, mixing and curing records. These are investigation directions; confirm the cause through controlled trials rather than treating appearance as proof of a single fault.
Keep the approved sample linked to the adhesive lot, media specification, mold identification and machine settings. When a product or material changes, review the affected controls before releasing the next batch. Final acceptance should include the dimensional, bonding and sealing checks required by the filter design, so that a visually complete PU part is also suitable for its intended assembly.
Choose a coordinated PU molding solution with PLM
PLM can bring PU adhesive, plastic molds and dispensing equipment into the same production configuration, with curing and trimming operations considered in the process route. Manufacturers can discuss the filter drawing, material requirements and equipment interfaces together, giving each purchase a defined purpose in the finished-filter process.
Installation guidance, technical training, maintenance guidance and spare-parts support extend that coordination into operation. Share your filter sample or drawing, target output, PU grade information and current molding difficulty with our team. We can review the material and equipment requirements around your application and help define a practical configuration for the next production step.